It can’t be avoided… the newness of January. The clean slate, the ambition, and the willingness to work a little harder, be a little better organized, and be a little more dedicated to the process.
I’m sure you would agree that fitness and nutrition are among the top areas where this is true. So if you’re among those who intend to slay their fitness this year, here are the key basics to nail before adding frequency, intensity, time, or type.
First of all, do you know what your glutes are? I ask because I trained my sister for about 6 years before she admitted to me that she wasn’t quite sure what her glutes were… (what?!?!)
Granted, she naturally moves very well and has no problem engaging her glutes. But she didn’t quite make the connection that her glutes were the same as her butt. Ai ai
Also, your core is not complete without your glutes/hips. Think of your core as your trunk, not your abs. The abs are the most superficial of all the core muscles. When working to strengthen your core, think about all the muscles that wrap your spine and pelvis. A good visual for core stability is ‘shrink wrapping’ your spine.
The deepest of core muscles, your QL, is frequently responsible for low back pain. Allowing too much instability in the core (think aggressive twists like you’ll commonly see in a Russian Twist) makes the QL very vulnerable and unable to assist in adding stability. When working within a range of motion, you’re locking in a combination of what your skeletal muscle can do, but also how much your soft tissue can endure.
This all being said, we would like to share with you what we look for in our movement screens. This simple assessment tells a lot about the starting point of a new client. It’s our first opportunity to really start coaching.
Floor Slide: (video)
A shoulder mobility drill. Lying in a supine position with your knees bent, spine neutral, shoulder blades retracted and arms out to the side in a W formation. Palms are facing up. On an exhale, extend your arms overhead without losing contact with the floor. We are looking for compensatory patterns such as arching the lower back, shrugging the shoulders or lifting the elbows or wrists.
This movement tells us a lot about how safe it will be for you to press weight overhead. If you can’t keep your arms on the floor during the floor slide, you’ll be hard pressed to keep your arm properly stacked over your shoulder blade for an overhead press.
Valslide Tall Plank: (video)
Using a tall plank (on hands rather than forearms) to identify any weakness or pain in the wrists. We add Valslides (think furniture movers) to make the plank more active and force greater core engagement. The target time is :30 as long as there is no discomfort in the back or neck. We used to use a pushup test, but what we saw failing the most in a pushup was the core stability and strength. Using this plank helps us hone in on coaching for core stability rather than muscling through some pushups.
Squat Test: (video)
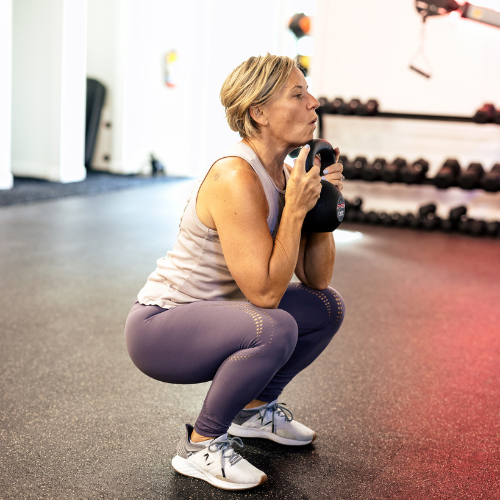
Airex pads for depth markers when coaching through the box squat. This provides you with a sense of security and it provides a marker to shoot for, giving us a concrete measurement of squat depth while maintaining good form. We are looking for controlled bodyweight squats with maximal bend in the knees, hips, and ankles while holding the shoulders and chest tall and pressing the heels into the floor. The Squat Screen allows us to identify tightness in the ankles and hips as well as weakness in the gluteal muscles and core. We can address buckling knees, a forward shift or fold.
Split Squat: (video)
The Split Squat helps us to identify imbalances from right to left and to get a better sense of hip strength. We start the split squat from “the bottom up” in a half kneeling position with about 90 degree bends in both knees. We are looking for a controlled pain-free movement. Key points are to keep their back heel pointed up to the ceiling and to really press the front foot into the floor so that the front hip powers the movement.
Hip Hinge: (video)
We first want to check if you can touch your toes. This will give us a sense of how tight your posterior chain is. We then coach you through a true hip hinge pattern using two physical cues. We have you hold a dowel on your back, maintaining three points of contact: the tail bone, the shoulders, and the back of the head. Hinge, sending your hips way back while keeping your knees soft and the dowel on all three points, you have a solid hip hinge. If the dowel comes off your low back, you’re leading with your shoulders and throwing your spine out of alignment. If it comes off your shoulders, you’re likely craning your neck, which can weaken your shoulder stability.
The hips are worked A LOT in our sessions. They are our powerhouse. If you can perfect one exercise, it should be the hip hinge. A close second is the plank. There’s lots of room for error in both of these, but also, there’s always room for improvement.
TRX Row: (video)
TRX Inverted Row is our final upper body movement screen. Many people have not used a TRX before and find it initially intimidating. It’s a super accessible exercise and it will leave you feeling accomplished. We’re looking to see that you can maintain core stiffness (a reverse plank position) throughout the movement. We want to see that you have the strength to keep their shoulders retracted, not shrugged towards the ears. And the ability to fire the back muscles between the shoulder blades to pull. We’ll be able to identify imbalances from right to left. Some common corrections that we will often address are curling the wrists and letting the hips sag. This exercise is the crowd favorite. It’s a great way to end our movement screen 🙂
From this baseline, we can build strength, develop power, increase speed, and add intensity. The most important thing is to never load dysfunction. That’s how you get hurt. The last thing you need is an injury to slow you down on your goals for 2024.


